The dining room is often considered the heart of a home, a place where friends and family can gather to enjoy a meal and create cherished memories. If you're looking to add a unique and cozy touch to your dining room, why not consider building a booth? A booth can add character and charm to any space, creating a cozy nook where you can relax and enjoy your meals. Not only is building a booth a fun and creative project, but it also allows you to customize the design to perfectly fit your space and style. In this article, we will explore step-by-step instructions on how to build a booth for your dining room, so you can create a one-of-a-kind gathering spot that everyone will love.
| Characteristics | Values |
|---|---|
| Size | Varies based on available space and number of people |
| Shape | Rectangular or square |
| Material | Wood, metal, or a combination of both |
| Design | Traditional, modern, rustic, or custom |
| Seating capacity | Depends on the dimensions of the booth |
| Upholstery | Fabric, leather, or vinyl |
| Backrest | High back for added comfort or low back for minimalist look |
| Cushions | Thick and plush for maximum comfort |
| Tabletop | Solid wood, glass, or laminate |
| Lighting | Overhead lighting or pendant lights above the table |
| Storage | Drawers or cabinets underneath the seating |
| Finishing | Stained, painted, or left natural |
| Accessibility | Consider space for wheelchairs, if necessary |
| Comfort | Adequate legroom and support for the back |
| Customizability | Ability to choose the dimensions, materials, and finishes |
| Maintenance | Easy to clean and maintain |
| Cost | Varies based on materials and customization options |
| Integration with existing decor | Coordinate with the overall style and color palette of the dining room |
What You'll Learn
- What materials do I need to build a booth for my dining room?
- How do I measure and determine the size of the booth to fit in my dining room?
- What tools and equipment do I need to assemble the booth?
- Are there any specific building codes or regulations I need to follow when constructing a booth for a dining room?
- Are there any additional features or design elements I should consider when building a booth for my dining room, such as storage compartments or upholstery choices?
![]()
What materials do I need to build a booth for my dining room?

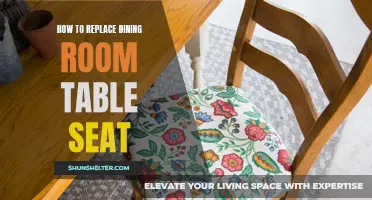
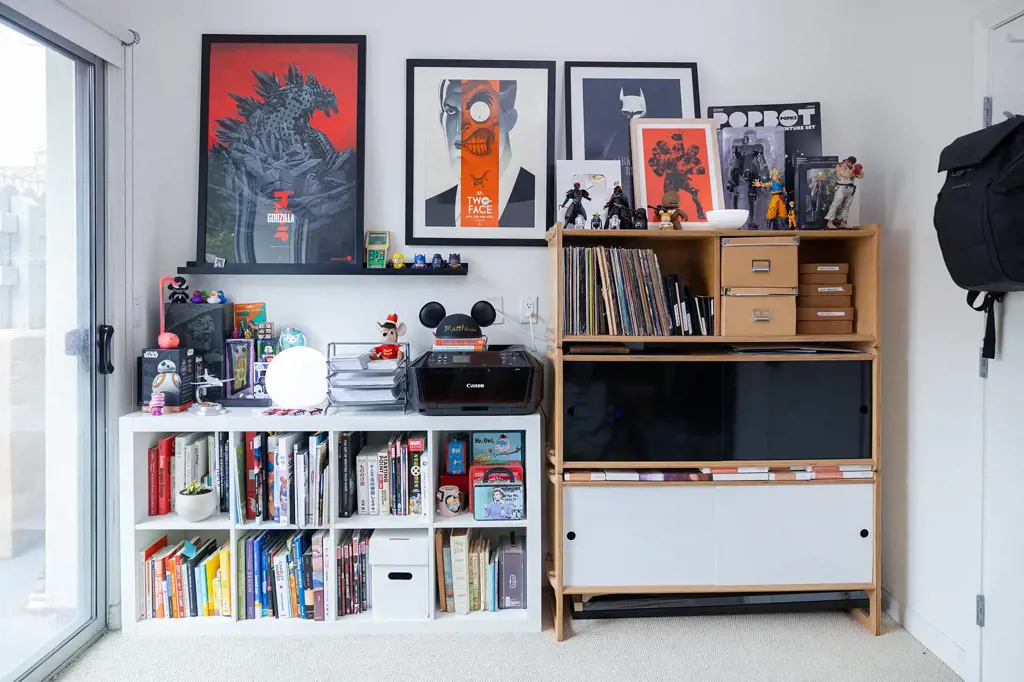
If you're looking to add some cozy seating to your dining room, building a booth could be a great option. Whether it's for family dinners or entertaining guests, a booth can create a comfortable and inviting atmosphere. Building a booth might seem like a daunting task, but with the right materials and a little know-how, you can create a beautiful and functional space in no time. Here are the materials you'll need to get started:
- Plywood: Plywood will be the main material for the booth's frame and seating. Choose a high-quality plywood that is at least 3/4 inch thick to ensure durability and stability.
- Lumber: You'll need lumber to build the booth's frame and legs. Opt for a sturdy wood, such as pine or oak, that can support the weight of the booth and its occupants.
- Foam padding: To make the booth comfortable to sit on, you'll need foam padding. Look for foam that is at least 2 inches thick and has a high density for maximum comfort and longevity.
- Fabric: Choose a fabric that is durable and easy to clean, as the booth will likely see a lot of use. Consider using a stain-resistant fabric or adding a protective coating to keep the booth looking its best.
- Screws and nails: These will be used to secure the plywood, lumber, and foam padding together. Make sure to use the appropriate size and type of screws and nails for your project.
- Wood glue: Wood glue will help strengthen the joints and connections between the plywood and lumber. Look for a waterproof and fast-drying wood glue for best results.
- Tools: You'll need a variety of tools to build your booth, including a saw, drill, screwdriver, measuring tape, and a staple gun. Make sure you have all the necessary tools on hand before starting your project.
Now that you have your materials, it's time to start building your booth. Here is a step-by-step guide to help you along the way:
- Measure and plan: Measure the space where you want to install the booth and create a plan or sketch to guide your construction.
- Cut the plywood: Use a saw to cut the plywood into the desired size and shape for the booth's frame and seating.
- Assemble the frame: Use screws and wood glue to assemble the plywood pieces into a sturdy frame. Make sure to reinforce the joints and corners for added stability.
- Attach the legs: Cut the lumber into leg-sized pieces and attach them to the bottom of the booth frame. This will provide support and elevate the booth off the ground.
- Add foam padding: Cut the foam padding to fit the seating area of the booth and attach it with adhesive or a staple gun. Make sure to trim any excess foam for a clean and professional look.
- Cover with fabric: Cut the fabric to cover the foam padding and seating area of the booth. Use a staple gun to secure the fabric to the plywood frame, pulling it tightly for a smooth finish.
- Finish and enjoy: Sand any rough edges or surfaces and apply a coat of paint or stain to the booth if desired. Once the booth is fully assembled and finished, you can sit back and enjoy your new dining room seating.
By following these steps and using the right materials, you can create a booth for your dining room that is both functional and stylish. Whether you choose to build a corner booth or a freestanding one, the result will be a cozy and inviting space that you and your guests will love. So gather your materials, roll up your sleeves, and get ready to build your dream booth.
How to disassemble dining room tables: A step-by-step guide
You may want to see also
![]()
How do I measure and determine the size of the booth to fit in my dining room?
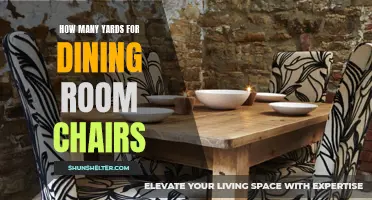
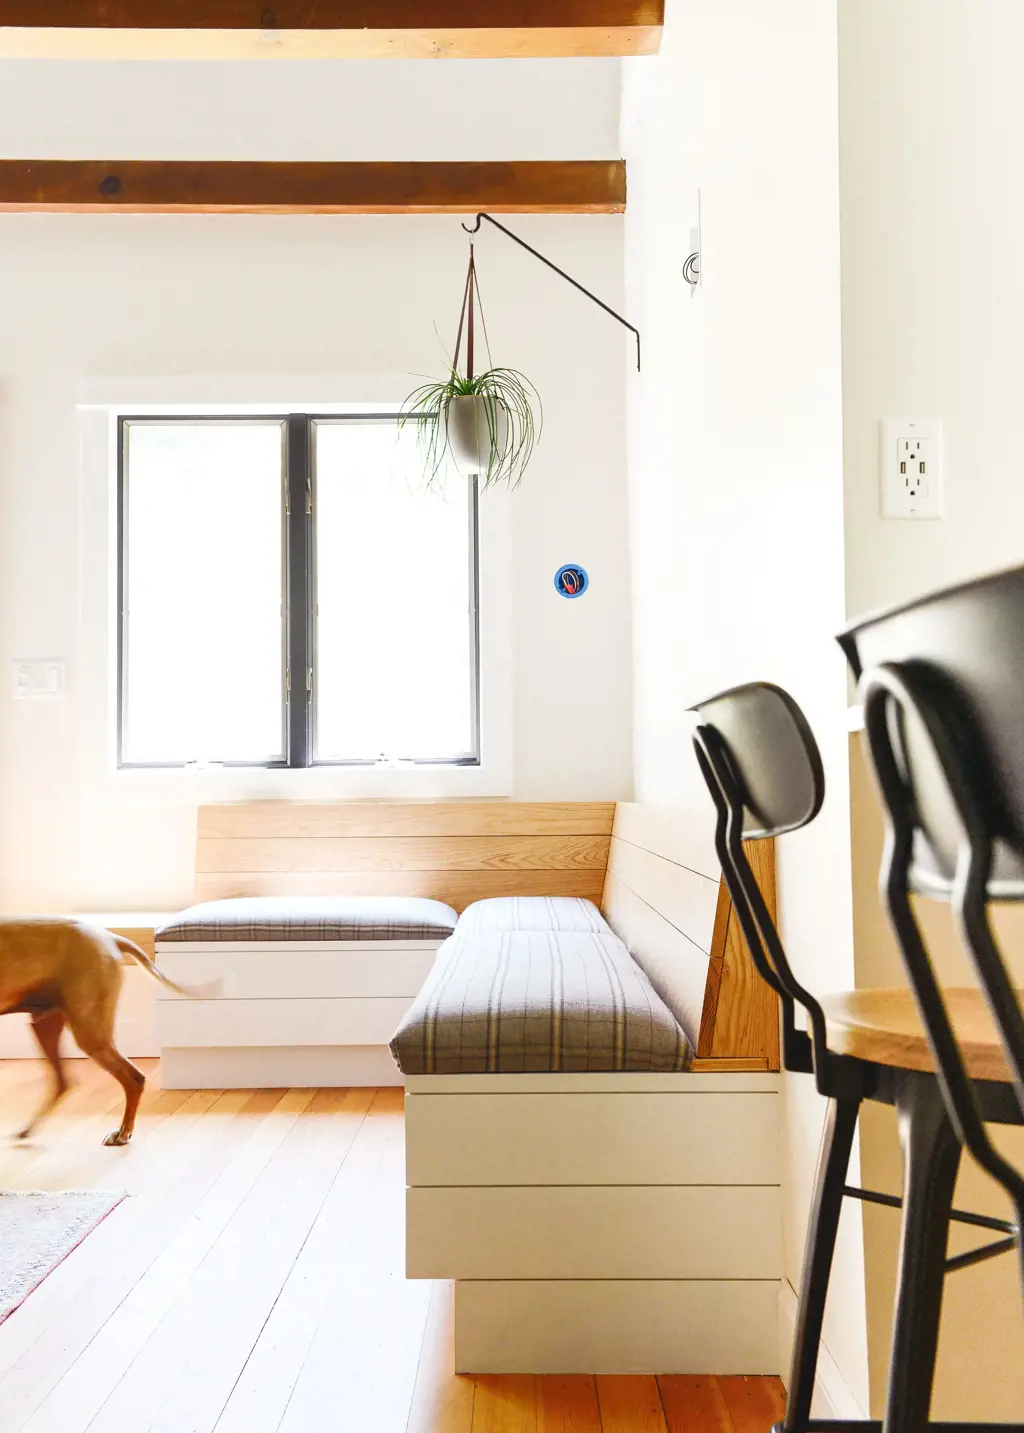
Measuring and determining the size of a booth to fit in your dining room may seem like a daunting task, but with careful planning and a few simple measurements, you can find the perfect fit. Whether you are looking to add a cozy corner booth or a larger seating area for entertaining, here are some steps to help you measure and determine the size of your booth.
- Measure the available space: Before you start shopping for a booth, you will need to measure the available space in your dining room. Use a tape measure to measure the length and width of the area where you plan to place the booth. Don't forget to take into account any obstructions such as windows, doors, or radiators.
- Consider the number of people: Think about how many people you will typically need to accommodate in the booth. If you have a small family or only plan to use the booth for casual meals, a smaller size may be sufficient. However, if you frequently host dinner parties or have a large family, you may want to opt for a larger booth with more seating capacity.
- Determine the shape: Decide on the shape of the booth that will best fit your dining room layout and personal preferences. Common shapes include L-shaped, U-shaped, and rectangular. Consider the flow of traffic in the dining room and how the booth will fit in with the rest of your furniture.
- Allow for comfort and space: It's essential to leave enough space in your measurement for people to comfortably sit and move around the booth. A general rule of thumb is to allow 24 to 30 inches of space per person. This will ensure that everyone can comfortably sit and get in and out of their seats without feeling cramped.
- Consider the table size: If you plan to have a table in your booth, make sure to account for the table size in your measurements. Measure the length and width of the table and factor it into the overall dimensions of the booth. This will ensure that the table fits properly within the booth and allows for adequate seating space.
- Take note of height: Consider the height of your booth as well. Standard booth heights range from 36 to 42 inches, but you can also opt for custom heights to fit your specific needs. Consider your dining room ceiling height and the overall aesthetic you want to achieve in your space.
Example: Let's say your dining room has a space measuring 10 feet by 8 feet, and you want to accommodate a family of four. You decide on an L-shaped booth with a table. Based on the space available, the ideal size for the booth would be approximately 8 feet by 6 feet, with a table measuring around 5 feet by 3 feet. This would provide enough seating and space for your family to comfortably dine in the booth.
Measuring and determining the size of a booth to fit in your dining room requires careful consideration of the available space, the number of people you want to accommodate, and the overall layout of your dining room. By following these steps and taking accurate measurements, you can find the perfect booth that fits seamlessly into your dining room and creates a cozy and welcoming atmosphere for your family and guests.
Why Separate Dining Rooms Are Becoming a Thing of the Past
You may want to see also
![]()
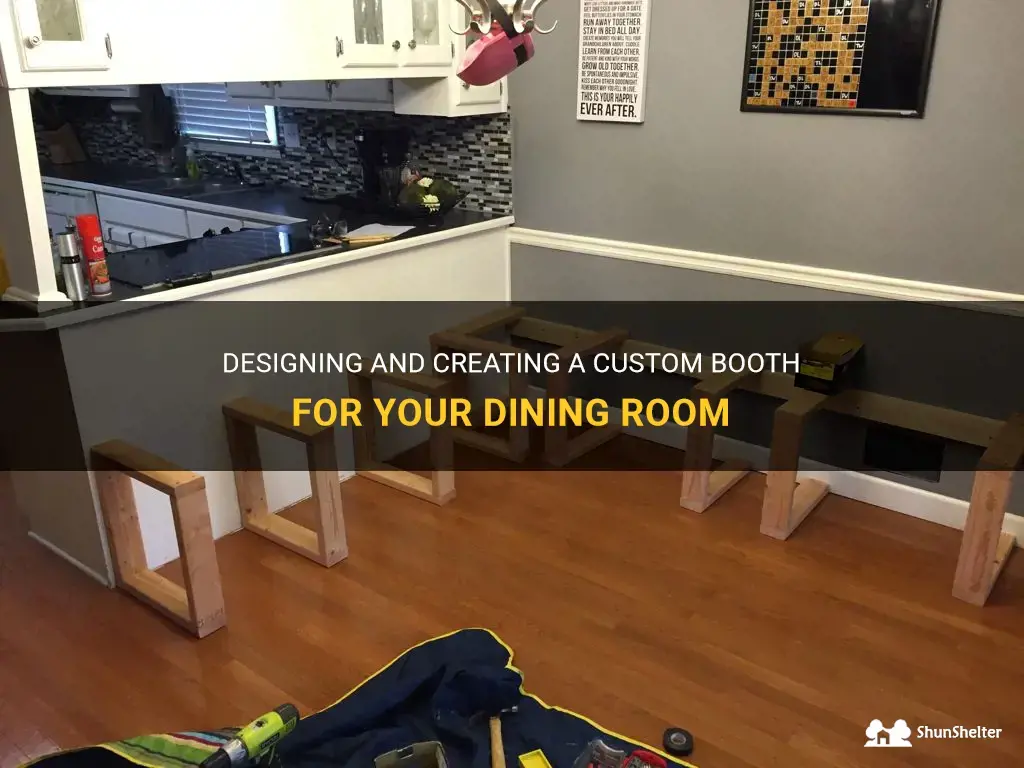
What tools and equipment do I need to assemble the booth?
When it comes to setting up a booth for an event or trade show, having the right tools and equipment is essential. Without the proper tools, the process of assembling the booth can be time-consuming and frustrating. In this article, we will discuss the tools and equipment necessary for assembling a booth effectively and efficiently.
- Tool belt or toolbox: Having a tool belt or toolbox is essential for organizing and carrying the necessary tools. It should include items such as a tape measure, utility knife, screwdrivers, pliers, hammer, and level. This will ensure that you have all the basic tools needed for assembly.
- Allen wrench set: Many booths come with parts that require Allen wrenches for assembly. Having a set of Allen wrenches in various sizes will ensure that you can easily tighten any bolts or screws that require them.
- Mallet or rubber mallet: A mallet is useful for gently tapping pieces into place or adjusting the booth's alignment. A rubber mallet is especially useful as it prevents damaging the booth's surfaces.
- Power tools: While not always necessary, power tools can significantly speed up the assembly process. A cordless drill with various drill bits and screwdriver bits can make fastening screws much quicker and easier.
- Ladder or step stool: Depending on the size and height of your booth, a ladder or step stool may be necessary to reach elevated areas or install overhead components. Make sure that the ladder or step stool is sturdy and can support your weight safely.
- Zip ties and Velcro straps: These are handy for securing cables and wires, ensuring a clean and organized appearance. They can prevent tripping hazards and keep everything secure during transportation.
- Lighting equipment: If your booth requires additional lighting, you may need to bring lighting fixtures, bulbs, extension cords, and power strips to ensure adequate illumination. Make sure to follow safety guidelines and avoid overloading electrical outlets.
- Personal protective equipment (PPE): Always prioritize safety during assembly. Wear appropriate PPE such as safety goggles, gloves, and a dust mask when handling materials and tools that could pose a risk of injury.
Remember to refer to the booth's assembly instructions for specific tool and equipment recommendations. If you are unsure about how to use a particular tool or equipment, consult the manufacturer's instructions or seek guidance from a professional. Additionally, consider taking photos or making notes during the assembly process to aid in dismantling and reassembling the booth for future events.
In conclusion, assembling a booth requires a range of tools and equipment to ensure a smooth and successful setup. By having essential tools such as a tool belt, Allen wrench set, mallet, power tools, and a ladder, you can tackle any assembly task efficiently. Additionally, items like zip ties, Velcro straps, lighting equipment, and personal protective equipment contribute to a safe and organized booth setup. With the right tools and equipment, you can confidently assemble your booth, creating an attractive and functional space for your event or trade show.
Using Burlap Lamp Shades to Add Rustic Charm to a Traditional Dining Room
You may want to see also
![]()
Are there any specific building codes or regulations I need to follow when constructing a booth for a dining room?
When constructing a booth for a dining room, there are several building codes and regulations that should be followed to ensure the safety and functionality of the booth. These codes and regulations vary depending on the location and jurisdiction, so it is important to consult with local authorities or a professional architect or contractor to ensure compliance.
One of the main considerations when building a booth in a dining room is the minimum clearance requirements. These requirements dictate how much space is needed between the booth and surrounding walls or furniture to allow for safe and comfortable access. The specific requirements may vary, but a general guideline is to have at least 36 inches of clearance on all sides of the booth. This ensures that people can easily move in and out of the booth without feeling cramped or restricted.
In addition to clearance requirements, there may also be regulations regarding the materials used in the construction of the booth. For example, fire codes may stipulate that the booth must be constructed using fire-resistant materials, such as treated wood or flame-retardant upholstery. It is important to check with local fire authorities to determine the specific requirements for your area.
Another important consideration is the structural integrity of the booth. This includes ensuring that the booth is built to withstand the weight of the people and furniture it will accommodate. Building codes may specify requirements for the size and placement of structural supports, such as studs or brackets, to ensure that the booth is stable and secure. It is recommended to consult with a professional architect or contractor to determine the appropriate structural requirements for your booth.
In terms of electrical considerations, there may be regulations regarding the installation of electrical outlets or lighting fixtures within the booth. These regulations are in place to ensure the safety of occupants and to prevent electrical hazards. It is important to consult with a licensed electrician to ensure that any electrical work is performed in compliance with local codes.
Finally, accessibility is an important factor to consider when constructing a booth in a dining room. Building codes may require that the booth be accessible to individuals with disabilities, including wheelchair users. This may entail providing a certain number of accessible seating spaces within the booth, as well as ensuring that there are clear pathways and maneuvering space for wheelchair users. Compliance with accessibility codes not only ensures the safety and comfort of all patrons, but also helps businesses meet legal requirements.
Overall, when constructing a booth for a dining room, it is essential to consider and comply with the relevant building codes and regulations. This will help ensure the safety, functionality, and accessibility of the booth, creating a positive dining experience for all patrons.
Create a Stunning Look for Your Dining Room Chairs with Piping Detail
You may want to see also
![]()
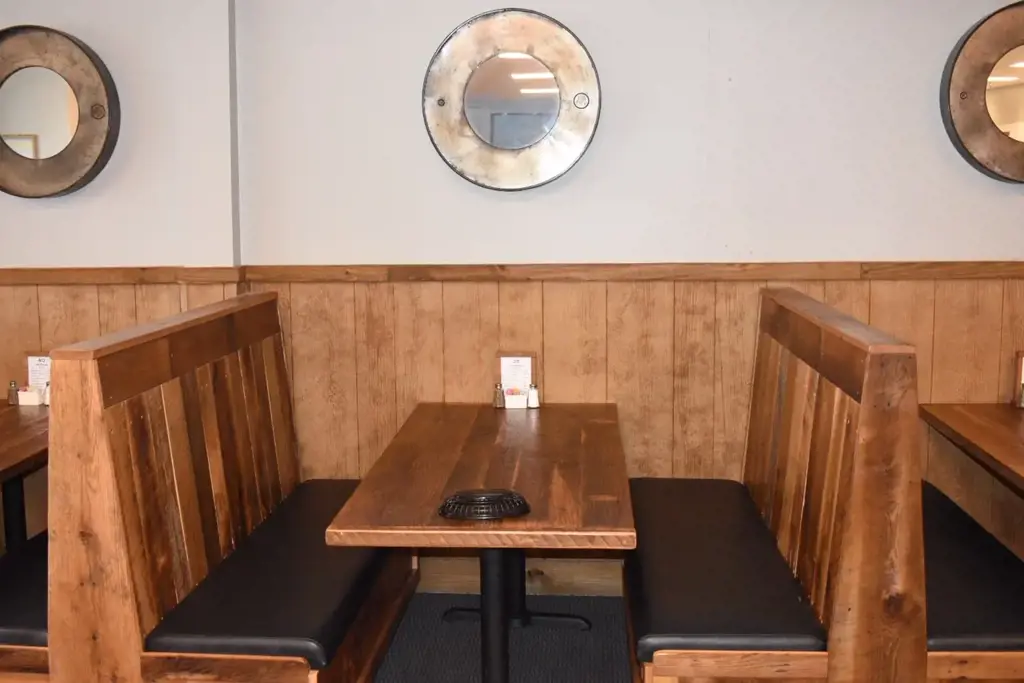
Are there any additional features or design elements I should consider when building a booth for my dining room, such as storage compartments or upholstery choices?
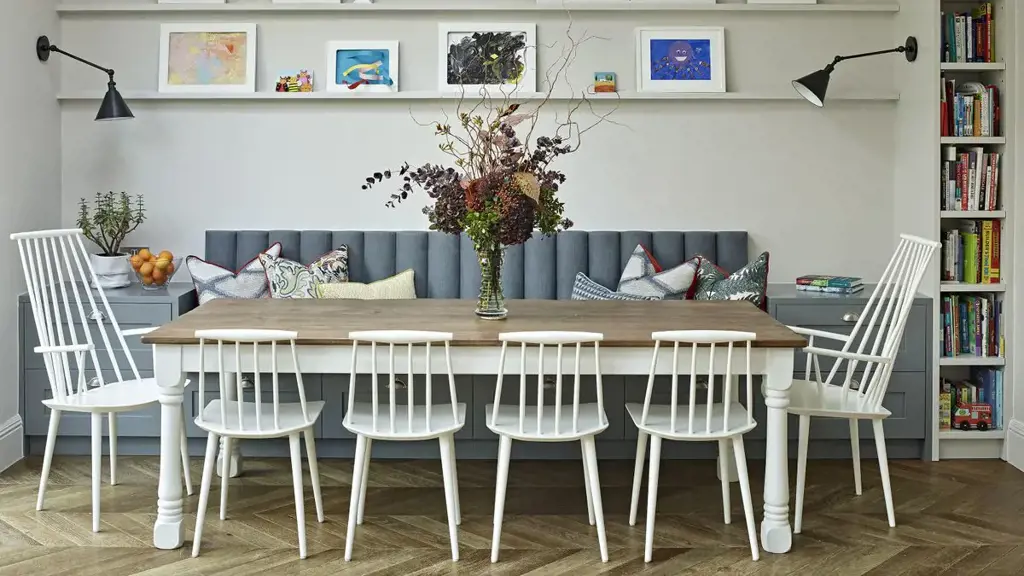
When building a booth for your dining room, there are several additional features and design elements that you should consider. These elements can enhance the functionality and aesthetics of your booth, making it a more enjoyable and practical addition to your dining space.
One important feature to consider is the inclusion of storage compartments in your booth design. Since dining rooms are often lacking in storage space, incorporating compartments beneath the seats can be a clever way to maximize the use of the booth. These compartments can be used to store extra linens, place settings, or even small kitchen appliances. To make accessing the storage easier, consider incorporating drawers or hinges for easy opening and closing. Additionally, you can also incorporate shelves or cubbies above the seating area for displaying decorative items or storing cookbooks.
Another design element to consider is the upholstery choices for your booth. Upholstery can play a significant role in the overall look and feel of the space, so it's important to choose materials and colors that complement your dining room décor. Depending on your personal style and preferences, you can opt for a variety of upholstery options such as leather, fabric, or vinyl. Each material has its own benefits and drawbacks, so it's essential to consider factors like stain resistance, durability, and ease of cleaning when selecting the upholstery. Additionally, consider the comfort of the seating by choosing padding and cushioning that is both supportive and comfortable for extended periods of sitting.
To build a booth for your dining room, follow these step-by-step instructions:
- Measure and plan: Start by measuring the available space in your dining room to determine the dimensions of your booth. Consider factors like the number of people you want to accommodate and the shape of the booth (e.g., straight, L-shaped, or U-shaped). Use these measurements to create a detailed plan for your booth, including the dimensions of the seats, backrests, and any additional features you want to incorporate.
- Purchase materials: Once you have your plan, make a list of the materials you'll need for your booth. This may include wood or plywood for constructing the frames, foam padding for the seats and backrests, upholstery fabric or leather, screws or nails, and any additional hardware like hinges or drawer slides.
- Construct the frame: Begin by building the frame of the booth using the wood or plywood. Cut the pieces according to your measurements and assemble them using screws or nails. Make sure the frame is sturdy and level, as it will support the weight of the seats and backrests.
- Add the seats and backrests: Once the frame is complete, attach the seats and backrests. Cut upholstery foam to the desired size and shape, and attach it to the seats and backrests using adhesive or staples. Then, cover the foam with your chosen upholstery fabric or leather, pulling it taut and securing it to the frame using staples or upholstery nails.
- Add any additional features: If you've chosen to incorporate storage compartments or shelves, now is the time to add them. Use the appropriate hardware to attach drawers, hinges, or shelves to the frame of the booth, ensuring they are secure and functional.
- Finish and polish: Finally, give your booth a finished look by sanding any rough edges and applying a coat of varnish or paint. This will protect the wood and give your booth a polished and professional appearance.
By considering additional features and design elements like storage compartments and upholstery choices, you can create a booth for your dining room that is both functional and aesthetically pleasing. Follow the step-by-step instructions provided, and enjoy the process of building a booth that will enhance your dining experience for years to come.
Exploring the Timeless Elegance of Classic Home Glass Dining Room Tables
You may want to see also
Frequently asked questions
Building a booth for your dining room can be a fun and practical project. Start by measuring the space where you want the booth to go and decide on the size and shape you want. Next, gather the necessary materials such as plywood, lumber, and foam padding. Cut and assemble the frame, making sure to secure it properly. Attach the plywood for the seat and backrest, and then cover them with foam padding and fabric of your choice. Finally, attach the booth to the wall or floor for stability and enjoy your new dining booth!
While some prior woodworking experience can be helpful, it is not necessary to have extensive knowledge or skills to build a booth for your dining room. There are plenty of resources available online, such as tutorials and step-by-step guides, that can guide you through the process. Additionally, many home improvement stores offer pre-cut and pre-drilled kits for building booths, making the task more beginner-friendly. With patience and a willingness to learn, you can successfully build a booth for your dining room even as a novice.
The time it takes to build a booth for a dining room can vary depending on your level of experience, the complexity of the design, and the availability of materials. Generally, it can take anywhere from a few days to a couple of weeks to complete the project. It's important to plan ahead and gather all the necessary materials and tools before starting, as this can help streamline the process and minimize any delays. If you are working on the project alone, it may also take longer compared to having a partner or a team of helpers. Overall, the time it takes to build a booth for a dining room can be a rewarding investment of time and effort.