Are you tired of the tedious and time-consuming process of installing traditional bathroom tiles? Look no further! SnapStone tiles are here to revolutionize the way you install flooring in your bathroom. With their unique interlocking system, you can easily and quickly create a stunning and durable bathroom floor without the need for messy and time-consuming adhesive. In this guide, we will walk you through the simple steps of installing SnapStone tiles in your bathroom, ensuring a hassle-free and professional-looking finish. Say goodbye to the stress of traditional tile installation and say hello to the convenience and beauty of SnapStone in your bathroom!
| Characteristics | Values |
|---|---|
| Tile Type | Snap |
| Tile Size | 12x12 |
| Tile Material | Porcelain |
| Installation Method | Snap together |
| Suitable Surfaces | Concrete, plywood, vinyl |
| Suitable Rooms | Bathroom, kitchen, laundry room |
| Waterproof | Yes |
| Grout Required | No |
| Backer Board Required | No |
| Tools Needed | Rubber mallet, utility knife |
| Difficulty Level | Easy |
What You'll Learn
- What tools are needed to install Snapstone in a bathroom?
- Is it necessary to remove the existing flooring before installing Snapstone in a bathroom?
- Can Snapstone be installed directly over existing vinyl or tile flooring in a bathroom?
- Are there any special considerations for installing Snapstone around a toilet or bathtub in a bathroom?
- Is there a specific type of adhesive or mortar that is recommended for installing Snapstone in a bathroom?
![]()
What tools are needed to install Snapstone in a bathroom?
Install Snapstone is a popular choice for homeowners looking to update their bathroom floors. Snapstone is a type of floating tile floor system that is designed to be easy to install without the need for mortar or grout. If you are considering installing Snapstone in your bathroom, there are a few tools that you will need to complete the job successfully.
Snapstone Tile
The first and most important tool you will need is the Snapstone tile itself. Snapstone tiles come in a variety of sizes and styles, so you can choose the one that best suits your bathroom's aesthetics. Make sure to measure your bathroom floor accurately so that you know how many tiles to purchase.
Underlayment Material
Before you can install Snapstone, you will need to install an underlayment material. This material is typically a thin, dense foam that helps to provide cushioning and sound insulation. The underlayment material also helps to conceal minor imperfections in the subfloor.
Leveling Spacers
Leveling spacers are essential tools when installing Snapstone. These spacers will help you achieve a consistent spacing between tiles, ensuring a professional and uniform finish. Leveling spacers are typically made of plastic and can be adjusted to achieve the desired spacing.
Jigsaw
A jigsaw is necessary for making any necessary cuts to the Snapstone tiles. When installing the tiles along the walls or around fixtures, you may need to cut them to fit properly. Make sure to use a jigsaw with a fine-tooth blade designed for cutting ceramic materials.
Rubber Mallet
A rubber mallet is an essential tool for installing Snapstone. Once you have laid down a tile, you will need to gently tap it into place using the rubber mallet. This will ensure that the tile is securely locked into position.
Trowel
Although Snapstone does not require mortar, you may still need a trowel for spreading adhesive on the underlayment material. The adhesive will help to secure the underlayment to the subfloor and provide additional stability for the Snapstone tiles.
Grout Float
While Snapstone does not require traditional grout, it does require a grout-like substance called Snapstone Flexible Grout. A grout float is necessary for applying this material between the tiles. The grout float is used to push the Snapstone Flexible Grout into the spaces between the tiles and create a finished look.
Sponge and Bucket
Lastly, you will need a sponge and a bucket of water for cleaning the tiles during and after the installation process. It is essential to remove any excess adhesive or grout from the tile surface before it dries to ensure a clean and professional finish.
In conclusion, installing Snapstone in a bathroom requires a few essential tools. These tools include Snapstone tiles, underlayment material, leveling spacers, a jigsaw, a rubber mallet, a trowel, a grout float, and a sponge and bucket. By having these tools on hand, you can successfully install Snapstone in your bathroom and create a beautiful and durable flooring solution.
Installing a Shower in a Half Bathroom: A Step-by-Step Guide
You may want to see also
![]()
Is it necessary to remove the existing flooring before installing Snapstone in a bathroom?
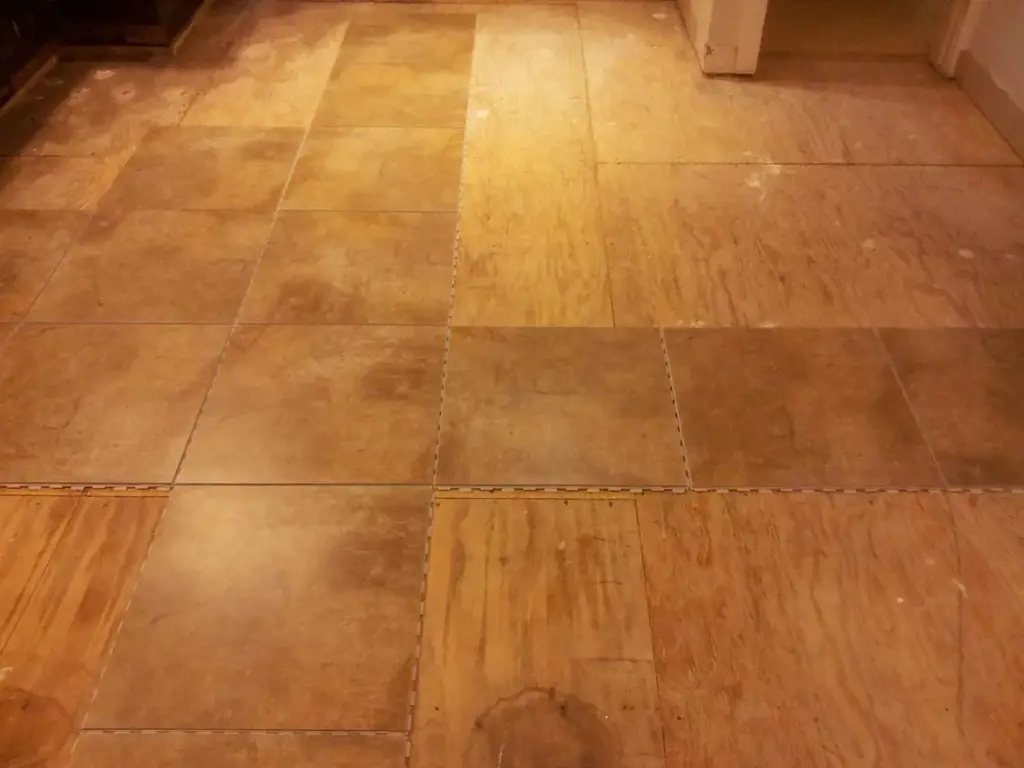
Many homeowners wonder if they need to remove their existing flooring before installing Snapstone in their bathroom. The answer to this question depends on several factors, including the condition of the existing flooring, the type of flooring, and personal preference. However, in most cases, it is recommended to remove the existing flooring before installing Snapstone for a properly finished and long-lasting bathroom floor.
One of the main reasons for removing the existing flooring is to ensure a flat and level surface for the Snapstone tiles. Uneven or damaged flooring can cause the tiles to crack or become loose over time. By removing the existing flooring, homeowners can address any underlying issues and create a suitable base for the Snapstone installation.
Another consideration is the type of flooring. If the existing flooring is carpet, vinyl, or linoleum, it is advisable to remove it before installing Snapstone. These materials can trap moisture, which can lead to mold and mildew growth. It is important to create a moisture-resistant and breathable environment in the bathroom. Removing the existing flooring allows for proper ventilation and prevents water damage.
Additionally, removing the existing flooring provides an opportunity to inspect the subfloor for any signs of damage or degradation. Issues such as rot, termite damage, or structural problems can be addressed before installing Snapstone. This ensures a stable and long-lasting bathroom floor.
Moreover, removing the existing flooring allows for customization and personalization. Homeowners may want to change the layout, add an underlayment for additional insulation or soundproofing, or install radiant floor heating. These modifications are easier to implement when the existing flooring has been removed.
The process of removing the existing flooring before installing Snapstone may seem daunting, but it can be accomplished with the right tools and techniques. Here is a step-by-step guide to help homeowners navigate the removal process:
- Prepare the area: Clear the bathroom of any furniture, fixtures, and accessories. It is important to have a clean and open space to work in.
- Gather the necessary tools: Depending on the type of flooring, homeowners will need tools such as a pry bar, hammer, utility knife, floor scraper, and gloves. It is important to follow safety precautions and wear protective gear.
- Start with the edges: Use the pry bar to lift the edges of the flooring and remove any baseboards or trim. This will allow easier access to the rest of the flooring.
- Remove the flooring: Use the appropriate tool to remove the flooring in sections. For carpet, it may be necessary to cut it into manageable pieces before rolling and disposing of it. Vinyl and linoleum can be peeled off with the help of a floor scraper.
- Inspect and clean the subfloor: Once the existing flooring has been removed, inspect the subfloor for any damage or issues. Address any necessary repairs and thoroughly clean the subfloor to remove any debris or adhesive residue.
- Install the Snapstone: With a clean and level subfloor, homeowners can proceed with the Snapstone installation according to the manufacturer's instructions.
In conclusion, while it is not always necessary to remove the existing flooring before installing Snapstone in a bathroom, it is generally recommended for a smooth and durable installation. Removing the existing flooring allows for a flat and level surface, prevents moisture accumulation, enables proper ventilation, and provides an opportunity for customization and repair. By following the step-by-step guide, homeowners can successfully remove the existing flooring and install Snapstone tiles for a beautiful and functional bathroom floor.
A Step-by-Step Guide to Installing the Moen Adler Bathroom Faucet
You may want to see also
![]()
Can Snapstone be installed directly over existing vinyl or tile flooring in a bathroom?
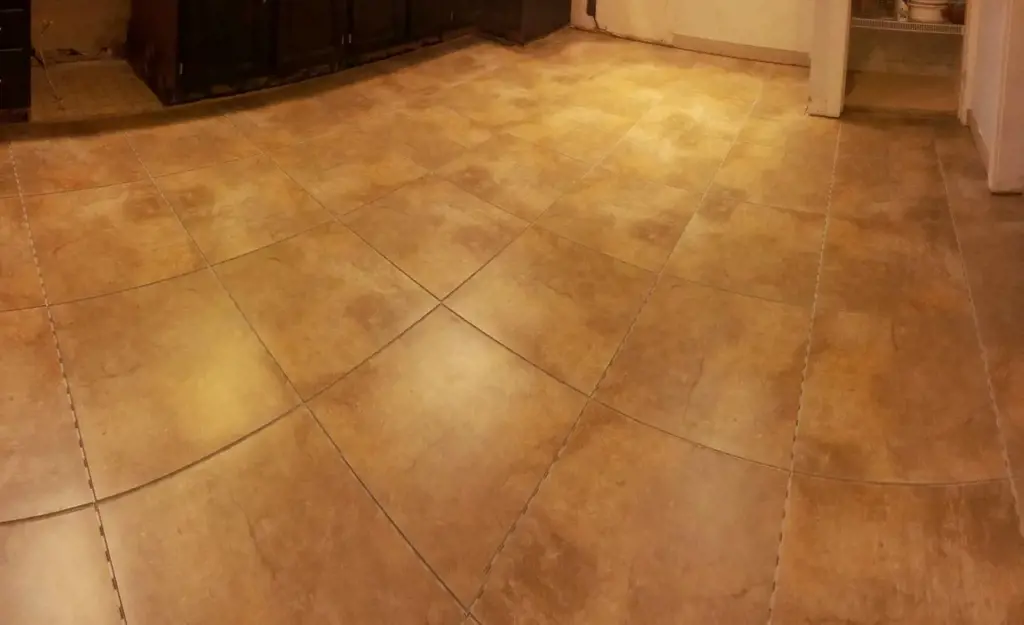
Snapstone is a popular choice for those looking to update their bathroom flooring. It offers a durable and stylish option that can be installed quickly and easily. Many people wonder if Snapstone can be installed directly over existing vinyl or tile flooring in a bathroom. In this article, we will explore the answer to this question.
Scientifically, Snapstone is designed to be installed over a variety of subfloors, including vinyl and tile. The tiles are made with a snap-together system that does not require the use of adhesive or grout. This means that the existing flooring does not need to be removed before installation. The design of Snapstone allows for easy and seamless installation, making it a great choice for a bathroom renovation.
From an experiential standpoint, many homeowners have successfully installed Snapstone over their existing vinyl or tile flooring. They have found that it offers a convenient and cost-effective way to update their bathroom without the need for extensive demolition or installation processes. By installing Snapstone directly over the existing flooring, they were able to save time and money while still achieving a beautiful and durable result.
To install Snapstone over existing vinyl or tile flooring, follow these step-by-step instructions:
- Clean the existing flooring thoroughly to ensure a smooth surface for the Snapstone installation. Remove any dirt, grime, or adhesive residue to create a clean and even base.
- Gather all the necessary tools and equipment for the installation, including a tape measure, mallet, spacers, and a tile cutter. Make sure you have everything you need before starting the process.
- Lay out the Snapstone tiles in your desired pattern before installing them. This will allow you to see how they will fit and make any adjustments if needed. It is important to plan the layout carefully to ensure a professional and seamless look.
- Begin the installation by placing the first Snapstone tile in the corner of the room. Use spacers to maintain even grout lines between the tiles. Snap the tiles together using the snap-together system, applying gentle pressure with a mallet if necessary. Continue this process until all the tiles are installed.
- Once all the tiles are in place, use a tile cutter to trim any excess pieces to fit around edges, corners, or fixtures. This will create a clean and finished look.
- Finally, remove the spacers and clean the tiles with a mild cleanser to remove any residue. This will leave your new Snapstone floor looking shiny and polished.
In conclusion, Snapstone can be installed directly over existing vinyl or tile flooring in a bathroom. Scientifically, Snapstone is designed to be installed over a variety of subfloors, including vinyl and tile. From an experiential standpoint, homeowners have successfully installed Snapstone over their existing flooring, achieving a durable and stylish result. By following the step-by-step instructions provided, you can achieve a professional and seamless installation of Snapstone in your bathroom.
A Step-by-Step Guide on Installing a Bluetooth Bathroom Fan
You may want to see also
![]()
Are there any special considerations for installing Snapstone around a toilet or bathtub in a bathroom?
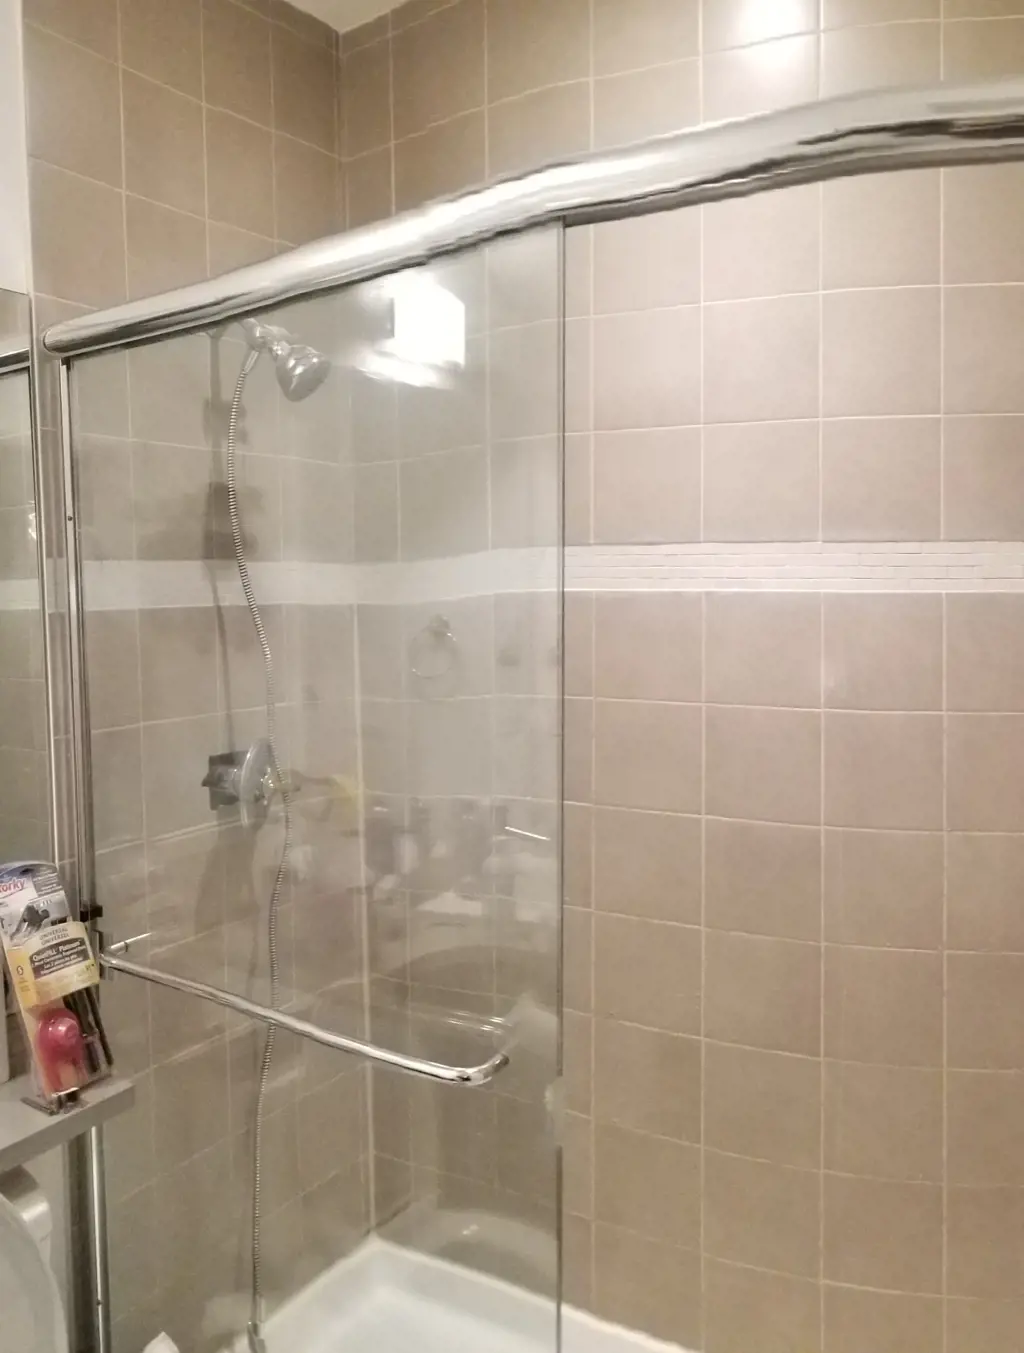
Installing Snapstone, a type of interlocking tile system, in a bathroom can be a cost-effective and efficient way to update the overall appearance and functionality of the space. When it comes to installing the tiles around a toilet or bathtub, there are a few special considerations that should be taken into account to ensure a proper and long-lasting installation.
- Preparing the surface: Before installing Snapstone, it is important to properly prepare the surface around the toilet or bathtub. Make sure the area is clean, dry, and free of any debris. If there are any existing tiles or flooring, remove them and ensure the subfloor is level and stable.
- Measuring and cutting: Measure the area around the toilet or bathtub where the tiles will be installed. Use a tile cutter or wet saw to cut the tiles to the appropriate size and shape. Make sure to leave a small gap between the tiles and the toilet or bathtub to allow for movement and expansion.
- Waterproofing: In a bathroom, it is essential to protect the subfloor and the areas around the toilet and bathtub from water damage. Apply a waterproofing membrane or sealant to the subfloor to prevent moisture from seeping through. This will help to prevent mold and mildew growth and ensure a durable installation.
- Installing the tiles: Follow the manufacturer's instructions for installing the Snapstone tiles. Start at the center of the room and work your way outward. Use tile spacers to maintain consistent spacing between the tiles. Apply a thin layer of mortar or adhesive to the subfloor, then press the tiles into place. Always check for level and adjust as necessary.
- Grouting: Once the tiles are firmly in place, allow them to set for the recommended amount of time. Mix the grout according to the manufacturer's instructions and apply it to the gaps between the tiles. Use a grout float to push the grout into the gaps, then use a damp sponge to wipe away any excess grout. Allow the grout to dry completely before using the bathroom.
- Caulking: To further protect against water damage, apply a silicone caulk around the edges of the tiles where they meet the toilet or bathtub. This will create a waterproof seal and prevent water from seeping underneath the tiles.
- Maintenance: To maintain the appearance and functionality of the Snapstone tiles, it is important to regularly clean and maintain them. Use a mild detergent and a soft brush or mop to clean the tiles, and avoid using harsh chemicals or abrasives that could damage the surface.
In conclusion, installing Snapstone around a toilet or bathtub in a bathroom requires some special considerations to ensure a proper and long-lasting installation. These considerations include preparing the surface, measuring and cutting the tiles, waterproofing the area, properly installing and grouting the tiles, applying silicone caulk for added protection, and regular maintenance. By following these steps, you can enjoy a beautiful and durable Snapstone installation in your bathroom.
Choosing the Right Sealer for Dura Board in Your Bathroom: A Comprehensive Guide
You may want to see also
![]()
Is there a specific type of adhesive or mortar that is recommended for installing Snapstone in a bathroom?
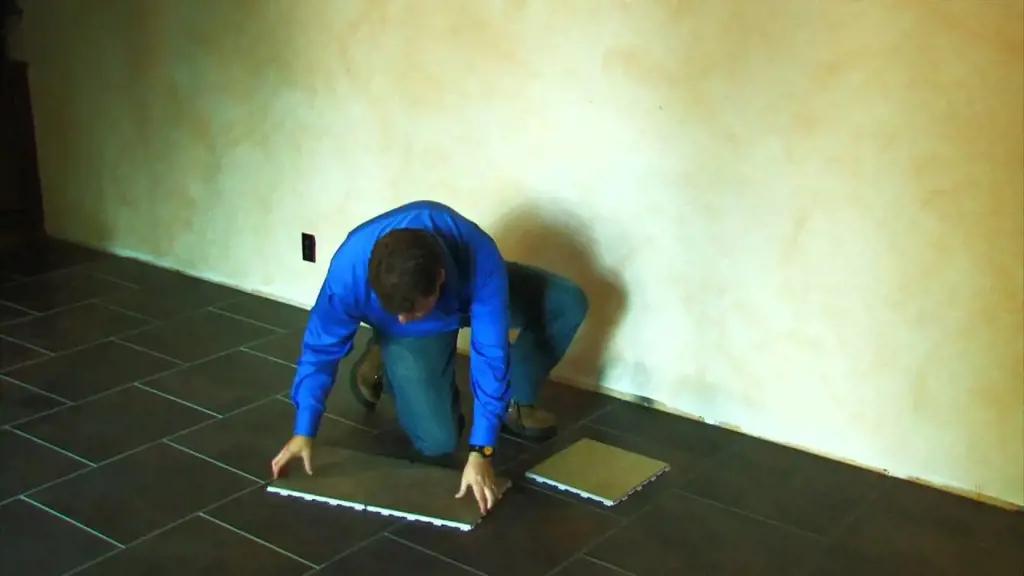
Snapstone is a popular flooring option for bathrooms due to its durability and ease of installation. When it comes to installing Snapstone in a bathroom, it is important to use the right type of adhesive or mortar to ensure a secure and long-lasting bond.
One of the recommended adhesives for installing Snapstone in a bathroom is a modified latex thinset mortar. This type of mortar is specifically designed for tile installation and provides a strong bond between the Snapstone tiles and the subfloor. The modified latex component helps to improve the flexibility and water resistance of the mortar, making it ideal for use in a bathroom where moisture and humidity are commonly present.
Before applying the adhesive or mortar, it is important to prepare the bathroom floor properly. The subfloor should be clean, dry, and free from any debris or dust. Any cracks or uneven areas should be repaired and leveled out to ensure a smooth surface for the Snapstone tiles to be laid upon.
Once the subfloor is prepared, the adhesive or mortar can be applied using a trowel. Follow the manufacturer's instructions for mixing the adhesive or mortar to the appropriate consistency. It is important to spread the adhesive or mortar evenly on the subfloor, ensuring full coverage. This will help to prevent any voids or air pockets that could lead to loose or cracked tiles in the future.
After the adhesive or mortar is applied, the Snapstone tiles can be laid down. Press each tile firmly into the adhesive or mortar, making sure they are level and evenly spaced. It is important to work quickly, as the adhesive or mortar will begin to set within a certain timeframe. A rubber mallet can be used to gently tap the tiles into place if necessary.
Once all the Snapstone tiles are installed, it is recommended to wait at least 24-48 hours before grouting. This allows the adhesive or mortar to fully cure and ensures a strong bond between the tiles and the subfloor. After the waiting period, the grout can be applied using a grout float. Any excess grout should be wiped away with a damp sponge.
In conclusion, a modified latex thinset mortar is the recommended adhesive for installing Snapstone in a bathroom. Proper preparation of the subfloor and the correct application of the adhesive or mortar are crucial for a successful installation. By following these steps and using the right materials, you can ensure a secure and long-lasting tile installation in your bathroom.
Installing an Electric Towel Rail in Your Bathroom: A Step-by-Step Guide
You may want to see also
Frequently asked questions
Before installing SnapStone tiles in your bathroom, it is important to properly prepare the floor. Start by removing any existing flooring material, such as tiles or vinyl. Next, ensure that the subfloor is clean and level. If there are any dips or imperfections, use a floor-leveling compound to even it out. Make sure the subfloor is free of any debris or dust before proceeding with the installation.
To install SnapStone tiles in your bathroom, you will need a few essential tools and materials. These include a tile cutter or wet saw, a trowel for spreading adhesive, a notched trowel for applying thin-set mortar, a rubber grout float, a grout sponge, and a level. Additionally, you will need SnapStone tile adhesive, SnapStone grout, and any necessary transition strips or edging.
In most cases, SnapStone can be installed directly over existing flooring in a bathroom without the need for removal. However, there are a few conditions that must be met for a successful installation. The existing flooring should be structurally sound and level. If there are any loose or damaged tiles, they should be repaired or replaced before installing SnapStone. Additionally, if the existing flooring is cushioned or padded, it must be removed before installation.
To maintain and clean SnapStone tiles in your bathroom, it is important to regularly sweep or vacuum them to remove any dirt or debris. For routine cleaning, use a mild detergent or tile cleaner mixed with water and a soft mop or cloth. Avoid using harsh or abrasive cleaners, as they can damage the tiles. It is also recommended to periodically seal the grout lines to prevent staining and maintain the appearance of your SnapStone bathroom floor.