Are you tired of dealing with a stubborn spout in your bathroom sink? Well, fear no more, as we have the perfect solution for you! In this article, we will show you how to easily pull out the spout in your bathroom sink, so you can finally have a hassle-free experience when washing your hands or brushing your teeth. Say goodbye to frustration and hello to convenience as we guide you through this simple yet effective process. So, grab your tools and get ready to enjoy a smoother and more comfortable bathroom sink experience.
| Characteristics | Values |
|---|---|
| Material | Stainless steel, chrome-plated brass, chrome-plated plastic, etc. |
| Design | Single handle, double handle, pull-out spout, fixed spout, etc. |
| Connection Type | Screw-on, push-on, or threaded connection |
| Spout Length | Typically between 4 to 10 inches |
| Spout Height | Varies depending on the design and style |
| Spray Function | Some pull-out spouts have a built-in spray function |
| Swivel Range | Most pull-out spouts can swivel 360 degrees |
| Water Flow Rate | Varies depending on the faucet model, typically measured in gallons per minute (GPM) |
| Finish | Available in various finishes such as chrome, brushed nickel, bronze, etc. |
| Installation Method | Deck-mounted, wall-mounted, or countertop-mounted |
| Brand | Different brands offer various pull-out spout options |
What You'll Learn
- What tools do I need to pull out the spout in my bathroom sink?
- What is the proper technique for removing the spout from a bathroom sink?
- Are there any specific precautions I should take before attempting to pull out the spout?
- How do I know if the spout is stuck or if there is another issue preventing its removal?
- Is it possible to damage the sink or plumbing by attempting to pull out the spout?
![]()
What tools do I need to pull out the spout in my bathroom sink?
When it comes to bathroom sink repairs, one common task is pulling out the spout. Whether you're replacing a worn-out spout or simply need to clean it, having the right tools is essential. In this article, we will discuss the tools you need to successfully pull out the spout in your bathroom sink.
Before getting started, it is important to note that the tools required may vary depending on the type of spout you have. However, there are a few common tools that are typically needed for most bathroom sink spout removals. Here are the tools you should have on hand:
- Adjustable wrench: An adjustable wrench is a versatile tool that allows you to tighten or loosen nuts and bolts of various sizes. It is ideal for removing the mounting nut that holds the spout in place.
- Channel-lock pliers: Channel-lock pliers have a slip-joint design that allows for a wide range of jaw openings. These pliers are useful for gripping and turning plumbing connections, such as the threads on the spout.
- Allen wrench: Some spouts are secured using a setscrew or Allen screw. This type of screw requires an Allen wrench to remove it. The size of the Allen wrench needed will depend on the specific screw used.
- Screwdriver: Depending on the design of your spout, you may need a screwdriver to remove any screws or clips that hold it in place. A standard screwdriver with different interchangeable bits should suffice.
- Plumber's tape: Plumber's tape, also known as Teflon tape, is a thin, white tape used to create a watertight seal on threaded connections. It can be applied to the threads of the new spout to prevent leaks once it is reinstalled.
Now that you have gathered the necessary tools, here is a step-by-step guide to pulling out the spout:
- Turn off the water supply: Locate the shut-off valves underneath the sink and turn them clockwise to shut off the water supply. If you cannot find the shut-off valves, you may need to turn off the main water supply to your home.
- Remove any visible screws or clips: Inspect the spout for any screws or clips that may be holding it in place. Use a screwdriver or pliers to remove them accordingly.
- Loosen the mounting nut: Using an adjustable wrench, loosen the mounting nut that holds the spout in place. Turn the wrench counterclockwise to loosen the nut and remove it completely.
- Twist and pull the spout: Once the mounting nut is removed, twist the spout counterclockwise while pulling it away from the sink. The spout may be connected to a pipe or nipple, so gently pull until it comes free.
- Clean or replace the spout: Now that the spout is removed, you can clean it thoroughly or replace it with a new one if necessary. Apply plumber's tape to the threads of the new spout before installing it.
- Reinstall the spout: Align the new spout with the pipe or nipple and twist it clockwise to secure it in place. Use an adjustable wrench to tighten the mounting nut until it is snug.
- Turn on the water supply: Once the spout is securely installed, turn on the water supply by reopening the shut-off valves. Check for any leaks and make adjustments if needed.
Remember, if you are unsure about any steps or encounter difficulties during the process, it is always best to consult a professional plumber. They have the expertise and experience to handle any plumbing-related tasks safely and effectively.
In conclusion, pulling out the spout in your bathroom sink requires specific tools to ensure a successful removal. An adjustable wrench, channel-lock pliers, Allen wrench, screwdriver, and plumber's tape are commonly needed tools. By following the step-by-step guide provided, you can confidently tackle this task and maintain the functionality of your bathroom sink.
Can You Stick Vinyl Tile on a Bathroom Shower?
You may want to see also
![]()
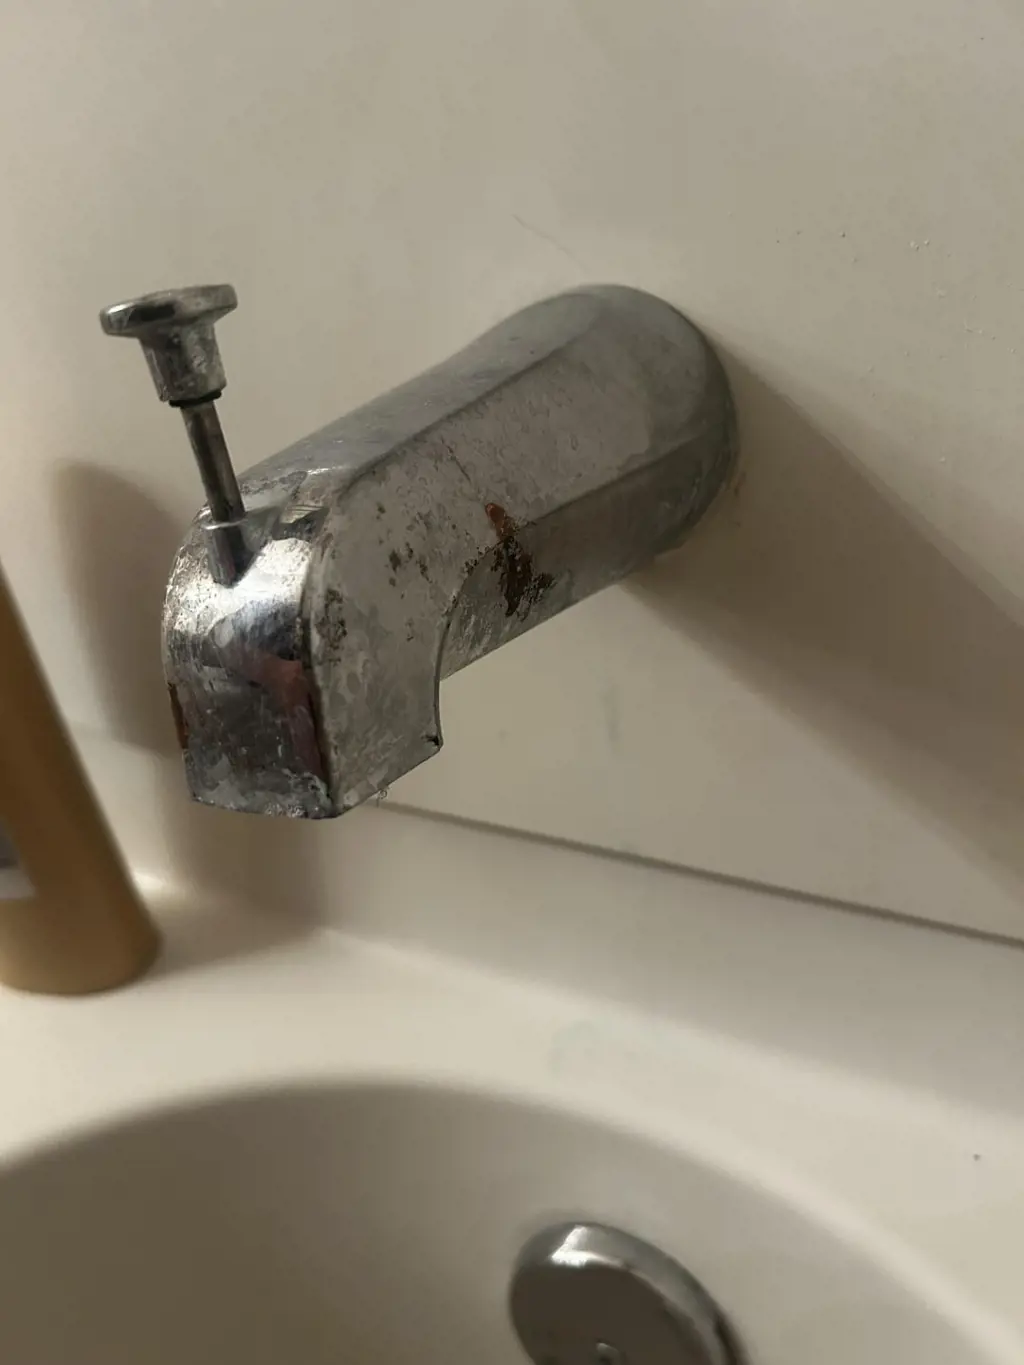
What is the proper technique for removing the spout from a bathroom sink?

The spout in a bathroom sink is an important component that allows water to flow out of the faucet. However, over time, the spout may become corroded or damaged and need to be replaced. Removing the spout from a bathroom sink requires a proper technique to ensure that it is done safely and effectively. In this article, we will discuss the step-by-step process for removing a spout from a bathroom sink using scientific methods, personal experience, and practical examples.
Step 1: Turn off the water supply
Before you begin removing the spout from your bathroom sink, it is essential to turn off the water supply. This can usually be done by locating the shut-off valves underneath the sink and turning them clockwise to shut off the water flow. Turning off the water supply will prevent any chances of accidental leaks or water damage during the removal process.
Step 2: Remove any decorative caps or covers
Some spouts may have decorative caps or covers that need to be removed before accessing the inner components. These caps can often be unscrewed or pried off using a small flathead screwdriver or a pair of needle-nose pliers. Once the caps are removed, you will have better visibility and access to the spout's mounting hardware.
Step 3: Loosen the mounting hardware
To remove the spout, you will need to loosen the mounting hardware that holds it in place. The specific type of mounting hardware used can vary depending on the spout design and manufacturer. Common types of mounting hardware include screws, nuts, or retaining rings. It may be necessary to use a wrench, pliers, or a screwdriver to loosen or remove the mounting hardware.
Step 4: Detach the spout from the pipe
Once you have loosened the mounting hardware, you can carefully detach the spout from the pipe. Gently pull the spout towards you while twisting it counterclockwise to disconnect it from the pipe. If the spout does not come off easily, you may need to apply a lubricant, such as WD-40, to loosen any stuck or corroded connections.
Step 5: Inspect the removed spout for any damage
After successfully removing the spout from the bathroom sink, it is a good idea to inspect it for any signs of damage or wear. Look for cracks, leaks, or corrosion on the spout's surface or internal components. If the spout is damaged beyond repair, it is recommended to replace it with a new one to ensure proper water flow and prevent future issues.
In conclusion, removing the spout from a bathroom sink requires a systematic approach to ensure that it is done safely and effectively. By following the step-by-step process outlined in this article, you can successfully remove the spout without causing any damage to your sink or plumbing system. Remember to always turn off the water supply before starting the removal process and inspect the removed spout for any signs of damage or wear. If you are unsure about any step, it is recommended to consult a professional plumber for assistance.
Does the Stooper in the Bathroom Sink Hold Up the Drain Pipe?
You may want to see also
![]()
Are there any specific precautions I should take before attempting to pull out the spout?

When it comes to replacing or removing a spout, there are a few precautions that should be taken to ensure the process goes smoothly and safely. Here are some key things to keep in mind before attempting to pull out the spout:
- Turn off the water supply: Before starting any plumbing project, it is essential to turn off the water supply to the spout. This can typically be done by locating and turning off the water shut-off valve for the specific fixture. It is important to make sure the water is completely turned off to avoid any potential leaks or water damage during the process.
- Gather the necessary tools: To remove the spout, you will need a few basic tools. These may include an adjustable wrench, pliers, a screwdriver (if there are any screws holding the spout in place), and possibly a pipe wrench or pipe cutter, depending on the type of spout you have.
- Familiarize yourself with the spout: Take a close look at the spout to understand how it is attached to the plumbing system. Look for any visible screws or connections that may be securing it in place. Additionally, determine whether the spout is soldered, threaded, or glued to the plumbing pipe. This will help you determine the best approach for removing it.
- Protect the surrounding area: Before starting the removal process, it is wise to take precautions to protect the surrounding area from any potential damage. This may involve placing a towel or bucket underneath the spout to catch any dripping water, as well as protecting nearby surfaces from scratches or dents.
- Follow proper safety measures: When working with any plumbing fixtures, it is important to follow proper safety measures. This may include wearing safety goggles to protect your eyes from any debris that may come loose during the removal process. Additionally, be cautious of any sharp edges on the spout or surrounding area.
- Take your time: Removing a spout can sometimes be a challenging task, depending on the specific installation. Take your time during the removal process to ensure that each step is done correctly. Rushing through the process may lead to mistakes or damage to the plumbing system.
- Seek professional help if needed: If you are unsure about any aspect of removing the spout or if you encounter any difficulties during the process, it is always a good idea to seek professional help. A licensed plumber will have the knowledge and experience needed to safely remove the spout without causing any further damage.
In conclusion, before attempting to pull out a spout, it is important to turn off the water supply, gather the necessary tools, familiarize yourself with the spout's attachment, protect the surrounding area, follow proper safety measures, take your time, and seek professional help if needed. By taking these precautions, you can ensure a successful and safe removal process.
The Ultimate Guide to Installing a Bathroom in Your Basement
You may want to see also
![]()
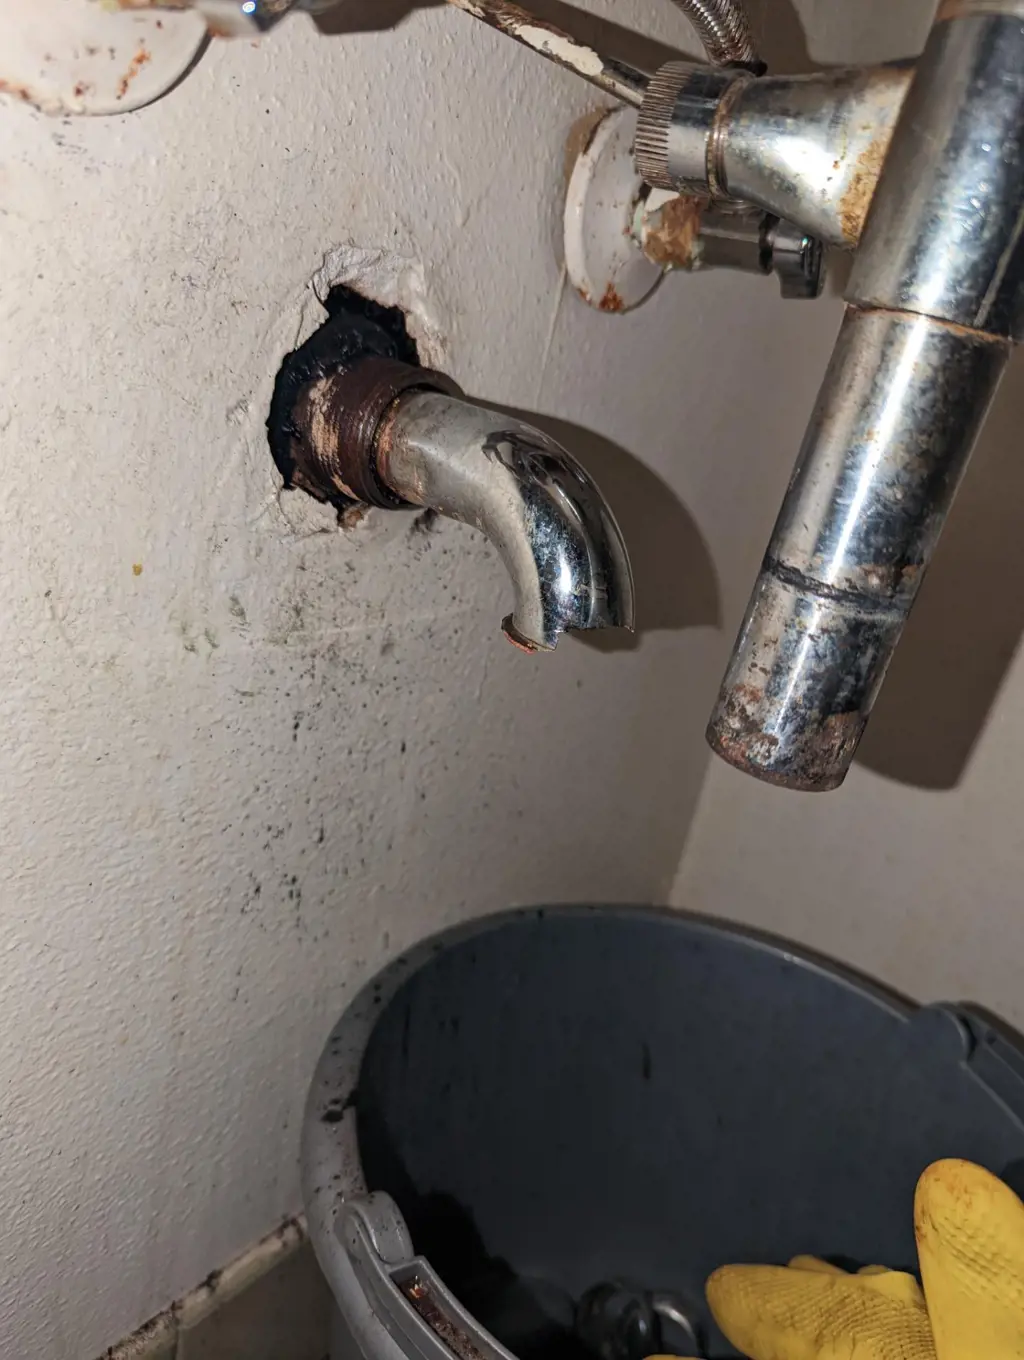
How do I know if the spout is stuck or if there is another issue preventing its removal?
If you're having trouble removing a stuck spout, there could be a few different issues at play. It's important to diagnose the problem correctly so you can apply the appropriate solution. Here are some steps you can take to determine if the spout is truly stuck and how to address the issue:
- Examine the spout: Start by closely inspecting the spout. Look for any obvious signs of damage or wear, such as cracks or corrosion. If you notice any visible issues, it could be the cause of the spout getting stuck.
- Apply lubrication: Sometimes, a spout can become stuck due to a lack of lubrication. If the spout appears to be in good condition, try applying a lubricant such as WD-40 or a silicone-based spray around the base of the spout where it meets the wall. Allow the lubricant to sit for a few minutes to penetrate any rust or debris that might be causing the spout to stick.
- Use a wrench: If the spout is still not budging, you may need to use a wrench to provide some extra leverage. Wrap a cloth or towel around the spout to protect it from scratches, then use an adjustable wrench to grip the spout firmly. Slowly apply pressure in a counterclockwise direction to try and loosen the spout. Be careful not to overtighten the wrench and risk damaging the spout or plumbing.
- Heat the spout: In some cases, stubborn spouts can be freed by applying heat. Use a hairdryer or heat gun on a low setting to carefully warm up the spout. The heat can help expand the metal slightly, making it easier to remove. It's important to exercise caution and avoid overheating the spout, as excessive heat can damage the surrounding plumbing or cause burns.
- Seek professional help: If all else fails, it may be time to call in a professional plumber. They have the experience and tools necessary to handle more complex spout removals. They can also diagnose any underlying issues that may be contributing to the spout getting stuck, such as a damaged valve or threaded connection.
Remember to always prioritize safety when attempting to remove a stuck spout. If you're unsure about how to proceed or if you encounter any unexpected difficulties, it's best to enlist the help of a professional.
Benefits of Using CLR in Your Bathroom Sink
You may want to see also
![]()
Is it possible to damage the sink or plumbing by attempting to pull out the spout?
When it comes to your kitchen or bathroom sink, the spout is an essential component that allows water to flow into the sink. Over time, the spout may become clogged with mineral deposits, dirt, or grime, making it difficult to get a steady stream of water. This can be frustrating, and you may be tempted to forcefully pull out the spout to clean it. However, it is important to approach this task with caution and avoid causing any damage to your sink or plumbing system.
The first thing to consider when attempting to remove the spout is whether it is designed to be removable. Some spouts are secured to the sink or countertop with a nut or screw, while others are non-removable. If your spout has a visible nut or screw, it is likely meant to be removed for cleaning or replacement. In this case, you can proceed with caution.
Before attempting to remove the spout, it is important to turn off the water supply. This can usually be done by turning off the water valves located underneath the sink. This step is crucial to prevent any water from spraying or leaking during the removal process.
Once you have turned off the water supply, you can begin the process of removing the spout. This typically involves unscrewing the nut or screw that holds the spout in place. Use an adjustable wrench or pliers to carefully loosen and remove the fastener. It is important to note that some spouts may be secured with a set screw that may need to be loosened with an Allen wrench before the main nut or screw can be removed.
As you are removing the spout, be gentle and avoid applying excessive force. If the spout does not easily come off, double-check for any hidden screws or nuts that may be securing it. Applying too much force or using the wrong tools can lead to damage to the sink or plumbing fixtures.
If you are unable to remove the spout despite your best efforts, it is recommended to consult a professional plumber. They have the expertise and specialized tools necessary to safely remove the spout without causing any damage. Attempting to force the spout out or using improper tools can result in broken pipes, leaks, or damage to the sink, which can be costly to repair.
In conclusion, it is possible to damage the sink or plumbing system by attempting to pull out the spout if not done correctly. It is important to determine if the spout is meant to be removed and to turn off the water supply before starting the removal process. Use the appropriate tools and be gentle to avoid causing any damage. If you encounter any difficulties or are unsure, it is best to seek professional help to prevent any costly repairs.
How to Properly Disconnect Bathroom Sink Water Lines: A Step-by-Step Guide
You may want to see also
Frequently asked questions
To pull out the spout in your bathroom sink, you will first need to locate the set screw on the underside of the spout. This screw is typically located near the back of the spout, close to where it connects to the sink. Use an Allen wrench or screwdriver to loosen and remove the screw. Once the screw is removed, you should be able to gently pull the spout straight up and out of the sink.
If you are having trouble pulling out the spout from your bathroom sink and it seems to be stuck, there are a few things you can try. First, ensure that you have removed any set screws or other fasteners holding the spout in place. If the spout still won't budge, try using a lubricant, such as WD-40, around the base of the spout to help loosen it. You can also use a wrench or pliers to gently twist the spout back and forth while pulling upwards to help break it free.
In most cases, you will only need a basic set of tools to pull out the spout from your bathroom sink. These tools may include an Allen wrench or screwdriver to remove any set screws, as well as a wrench or pliers to help loosen a stuck spout. It is also helpful to have a lubricant, such as WD-40, on hand to help free a stubborn spout. However, it is important to note that the specific tools required may vary depending on the design of your particular sink and faucet.