
Replacing a kitchen faucet can be a daunting task, but it doesn't have to be. Whether you're upgrading your current faucet or fixing a leak, knowing the basics of faucet replacement is essential. From choosing the right faucet to understanding the installation process, there are a few key things to keep in mind. In this article, we'll explore the important factors to consider when replacing a kitchen faucet, ensuring that you're well-equipped to tackle this DIY project with confidence. So, if you're ready to give your kitchen a fresh new look and improve the functionality of your sink, read on to discover everything you need to know about replacing a kitchen faucet.
What You'll Learn
![]()
Types of Kitchen Faucets
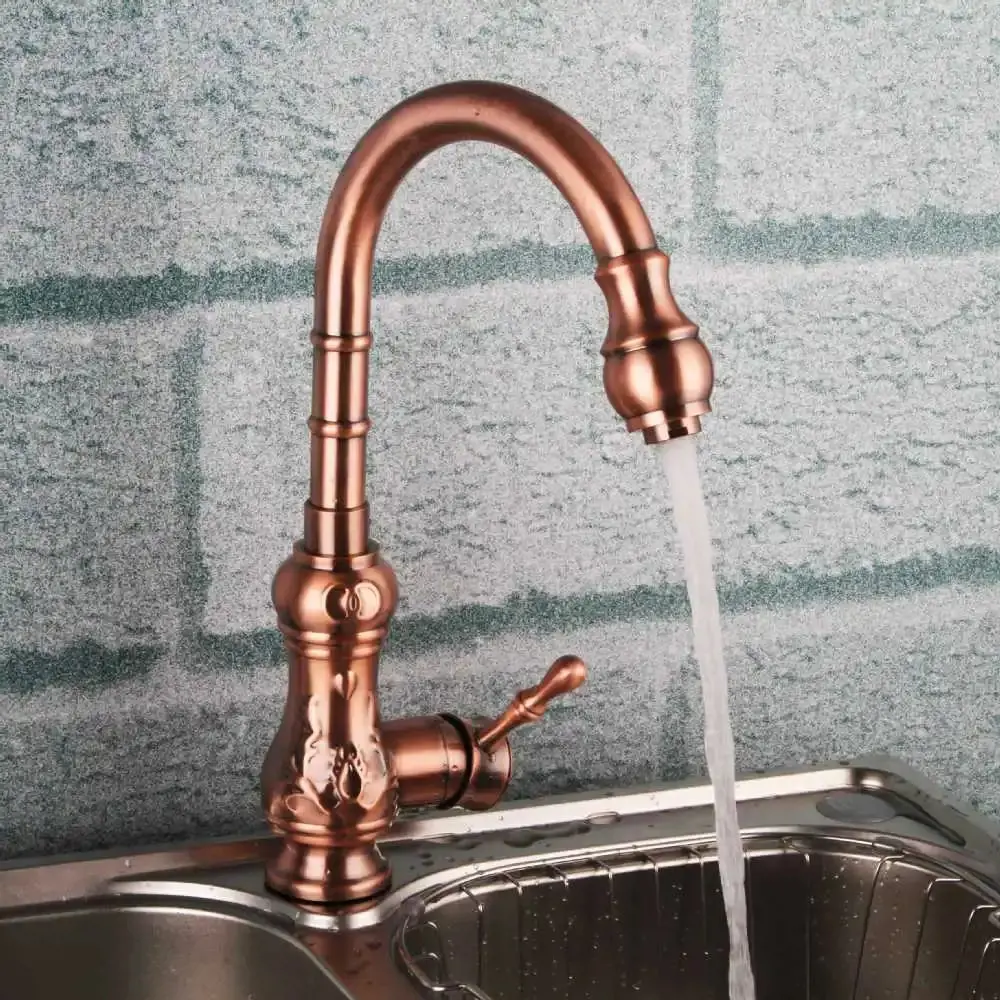
When it comes to choosing a kitchen faucet, there are several types to consider. Each type has its own unique features and benefits. In this article, we will explore four common types of kitchen faucets: single-handle faucets, double-handle faucets, pull-down sprayer faucets, and pull-out sprayer faucets.
Single-handle faucets:
Single-handle faucets are a popular choice for many homeowners due to their simplicity and ease of use. As the name suggests, these faucets have a single handle that controls both the water flow and temperature. With a single motion, you can adjust the water to your desired temperature and turn it on or off. Single-handle faucets are available in various styles and finishes, making them versatile for any kitchen decor.
Double-handle faucets:
Double-handle faucets, also known as two-handle faucets, have separate handles for hot and cold water. These faucets offer more precise control over water temperature, allowing you to achieve the perfect balance for your needs. Some double-handle faucets come with separate spouts for hot and cold water, while others feature a single spout. This type of faucet requires three holes in the sink or countertop for installation.
Pull-down sprayer faucets:
Pull-down sprayer faucets are a popular choice for those who do a lot of cooking and cleaning in the kitchen. These faucets feature a spray head that can be pulled down from the spout, allowing you to easily rinse dishes, produce, and the sink itself. Pull-down sprayer faucets are convenient, versatile, and ideal for deep sinks or large pots. They are available in various designs, finishes, and spray patterns, allowing you to choose the one that suits your needs.
Pull-out sprayer faucets:
Similar to pull-down sprayer faucets, pull-out sprayer faucets also feature a spray head that can be pulled out from the spout. However, instead of pulling the spray head down, you pull it out towards you. This type of faucet is ideal for smaller sinks or those with limited space. Pull-out sprayer faucets are known for their flexibility and ease of use, making them a popular choice among homeowners.
In conclusion, choosing the right kitchen faucet is essential for your daily kitchen tasks. Whether you prefer single-handle faucets, double-handle faucets, pull-down sprayer faucets, or pull-out sprayer faucets, each type offers its own advantages. Consider your kitchen layout, sink size, and personal preferences when selecting the type of faucet that will best suit your needs. Remember to also consider the quality and durability of the faucet to ensure it will last for years to come.
What Factors Influence the Ideal Distance Between a Sink and Kitchen Island?
You may want to see also
![]()
Considerations before Replacing a Kitchen Faucet
If you’re considering replacing your kitchen faucet, there are several important considerations to keep in mind before making your purchase. By taking some time to evaluate the existing faucet, determine the mounting style, check for additional features, and assess the water supply connections, you can ensure a smooth and successful installation process. Here’s a closer look at each of these factors:
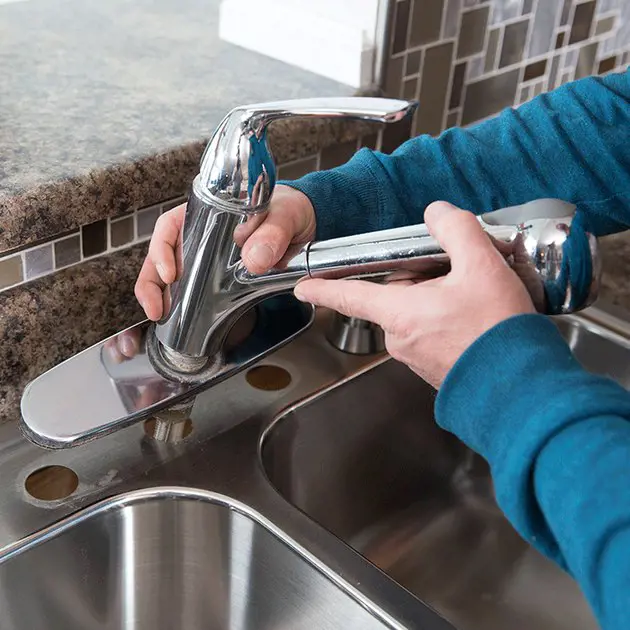
Measuring the existing faucet:
Before you start shopping for a new kitchen faucet, it’s crucial to measure the dimensions of your existing faucet. Measure the distance between the escutcheon (the decorative plate) and the spout, as well as the distance between the handles. These measurements will help you find a replacement faucet that will fit seamlessly into your existing sink or countertop.
Determining the mounting style:
Next, you need to determine the mounting style of your current faucet. There are four common mounting styles: single hole, centerset, widespread, and wall-mounted. Single hole faucets have a single mounting hole and a single spout, while centerset faucets have both the hot and cold handles integrated with the spout. Widespread faucets have separate hot and cold handles and a spout, and wall-mounted faucets are installed directly on the wall. Knowing the mounting style of your current faucet will help you choose a replacement that is compatible with your existing setup.
Checking for any additional features:
Consider whether you want to upgrade your kitchen faucet with any additional features. For example, some faucets may include a built-in soap dispenser, spray head with multiple spray patterns, or touchless technology. Think about your needs and preferences to determine which features would be beneficial for your kitchen. Keep in mind that adding additional features may require modifications to your existing plumbing setup.
Assessing the water supply connections:
Lastly, it’s essential to assess the water supply connections of your current faucet. Determine whether your existing faucet has flexible supply lines or traditional rigid connections. This will determine the type of connector fittings you need for the new faucet. If you have rigid connections, you may also need to consider if you want to replace the supply lines to ensure a secure and leak-free connection.
By considering these factors before replacing your kitchen faucet, you can ensure a successful installation process and find a replacement faucet that meets your needs and preferences. Take the time to measure your existing faucet, determine the mounting style, check for additional features, and assess the water supply connections. With these considerations in mind, you can make an informed decision and choose the right kitchen faucet for your home.
How to Make the Most of a Flat Island Kitchen with Separate Spaces
You may want to see also
![]()
Steps to Replace a Kitchen Faucet
Replacing a kitchen faucet may seem like a daunting task, but with the right tools and a bit of patience, it can be a straightforward DIY project. In this article, we will guide you through the step-by-step process of replacing a kitchen faucet. Let's get started!
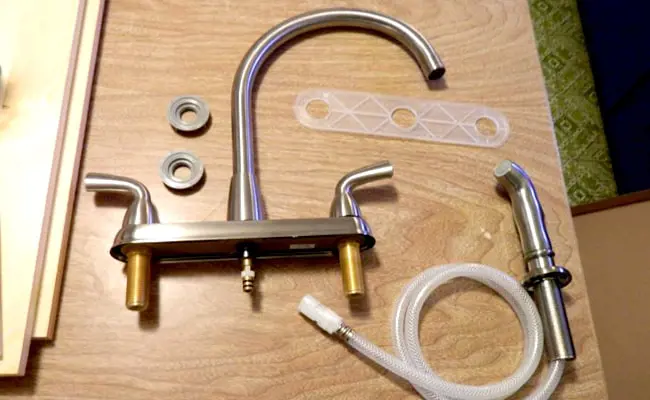
Step 1: Gathering the necessary tools and materials
Before you begin, gather the following tools and materials:
- Adjustable wrench
- Basin wrench
- Plumber's tape (Teflon tape)
- Towels or rags
- Bucket
- New kitchen faucet
- Replacement supply lines (if necessary)
- Bucket or container
Step 2: Shutting off the water supply
The first and most important step is to shut off the water supply to your kitchen faucet. Look for the shut-off valves under the sink and turn them clockwise until they are fully closed. Make sure to turn on the faucet to drain any remaining water from the lines.
Step 3: Removing the old faucet
Start by disconnecting the water supply lines from the faucet using an adjustable wrench. Place a bucket or container beneath the connections to catch any water that may spill out. Once the supply lines are disconnected, use a basin wrench to loosen and remove the nuts securing the faucet to the sink. Gently lift the old faucet out of the sink, taking care not to damage the water lines or the sink itself.
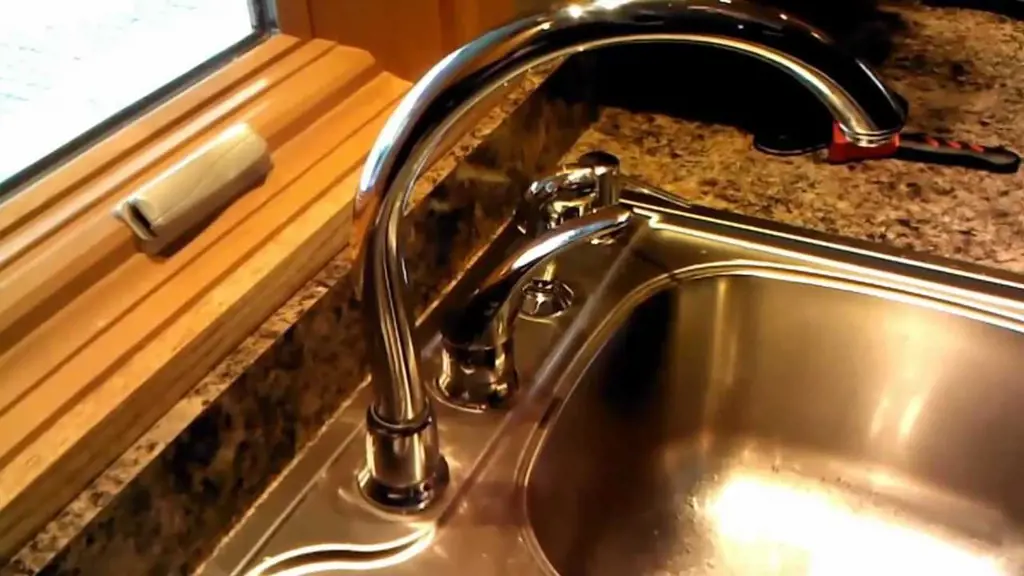
Step 4: Installing the new faucet
Begin by placing a rubber gasket or sealing plate provided with your new faucet on the sink. Slide the faucet through the mounting holes and secure it in place using the mounting nuts provided. Tighten the mounting nuts using a basin wrench or adjustable wrench, ensuring the faucet is stable and centered.
Step 5: Connecting the water supply lines
If your new faucet did not come with supply lines, you will need to attach the existing supply lines or purchase new ones. Apply plumber's tape (Teflon tape) to the threads of the supply line connections to prevent leaks. Connect the supply lines to the hot and cold water valves using an adjustable wrench. Make sure to tighten the connections securely, but be careful not to overtighten and damage the fittings.
Step 6: Testing the water flow and connections
With the new faucet installed and the supply lines connected, it's time to test everything. Slowly turn on the water supply valves underneath the sink and check for any leaks around the connections. If you notice any leaks, turn off the water supply and tighten the connections further. Once the connections are secure and leak-free, turn on the faucet and check the water flow. Make sure both hot and cold water handles work properly and adjust as needed.
In conclusion, replacing a kitchen faucet can be a manageable DIY project with the right tools and instructions. By following these steps, you can successfully replace your kitchen faucet and enjoy a fresh and functional upgrade. Remember to take your time, follow safety precautions, and seek professional help if you are uncertain or uncomfortable with any step of the process. Happy renovating!
Choosing the Perfect Pendant Lights for Your Kitchen Island
You may want to see also
![]()
Troubleshooting Common Issues
If you have a leaking or dripping faucet, don't worry. This is a common plumbing issue that can often be fixed easily without the need to call a plumber. The first thing you need to do is determine the cause of the leak. This can typically be done by examining the faucet and identifying where the water is coming from.
One common cause of a leaky faucet is a worn out or faulty seal. To fix this issue, you will need to remove the handle of the faucet and replace the seal. This can usually be done with a screwdriver and a few basic tools.
Another possible cause of a leaky faucet is a loose or damaged washer. To fix this issue, you will need to locate the washer and replace it with a new one. This can often be done by shutting off the water supply and removing the handle and stem assembly.
If you are experiencing low water pressure in your faucet, there are a few possible causes. One common cause is a clogged aerator. The aerator is the small device that screws onto the end of the faucet and helps to regulate the flow of water. If it becomes clogged with debris, it can restrict the flow of water and result in low water pressure.
To fix this issue, you will need to remove the aerator from the faucet and clean it thoroughly. You can do this by soaking it in vinegar or using a toothbrush to scrub away any debris. Once the aerator is clean, you can reattach it to the faucet and test the water pressure. If the problem persists, you may need to replace the aerator entirely.
Difficulty in tightening or loosening connections is another common issue that can be easily resolved. If you find that a connection is not tightening or loosening properly, it may be due to a buildup of mineral deposits or rust. To fix this issue, you will need to remove the affected connection and clean it thoroughly.
You can do this by soaking the connection in vinegar or using a brush to scrub away any deposits. Once the connection is clean, you can reattach it and test to see if it is now functioning properly. If the problem persists, you may need to replace the connection entirely.
Lastly, if your faucet is not fitting properly in the sink opening, there are a few possible causes. One cause may be that the faucet is not the correct size for the opening. To fix this issue, you will need to replace the faucet with one that is the correct size for your sink.
Another possible cause is that the faucet is not installed correctly. To fix this issue, you will need to remove the faucet and reinstall it, making sure that it is properly aligned and secured. If the problem persists, you may need to consult a professional plumber for assistance.
In conclusion, if you are experiencing any of these common issues with your faucet, don't panic. With a few basic tools and some patience, you can often fix these problems yourself. However, if you are unsure or uncomfortable with performing these repairs, it is always best to consult a professional plumber for assistance.
The Evolution of the Modern Kitchen Island
You may want to see also
Frequently asked questions
The time it takes to replace a kitchen faucet can vary depending on your experience and the complexity of the installation. Generally, it can take anywhere from 30 minutes to a couple of hours. If you're not familiar with plumbing work, it may be helpful to set aside a few hours to ensure you have enough time to complete the task.
To replace a kitchen faucet, you'll typically need a few basic tools such as an adjustable wrench, pliers, a basin wrench, a screwdriver, and plumbing tape. Additionally, you may need a bucket or towel to catch any water that may come out during the removal process. It's always a good idea to double-check the specific requirements of your faucet replacement before starting to ensure you have all the necessary tools.
Many homeowners can successfully replace a kitchen faucet themselves, especially if they have some basic plumbing knowledge and experience with DIY projects. However, if you're unsure or uncomfortable with the process, it's always best to hire a professional plumber to ensure the job is done correctly. A professional plumber can also help if you encounter any unexpected issues during the installation process.